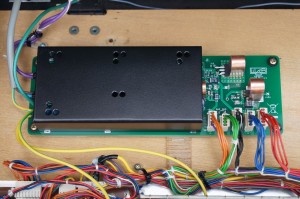
Roland Juno 6 / 60 PSU NEW
About Roland Juno 6/60 PSU (power supply) replacement
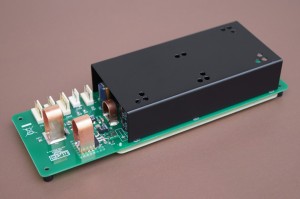
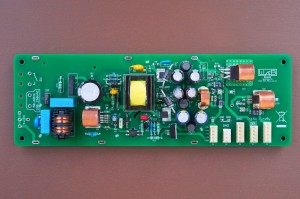
This modern and state of art PSU is suitable to replace an old PSU in Juno 6 or 60 synthesizers. It is an universal input (85 to 265V AC) switch mode power supply (SMPS) with linear LDO post-regulators to assure very low noise and stable output voltage.
In comparison to original PSU it has several advantages
- NO OVERHEAT! Original transformer and aluminium heatsink are so hot after 5h of operation so that you can’t touch it anymore (=temperature around 70°C). So the original PSU (the 230V version was inspected) turns into a big heater inside your synth
- efficiency more than 70{eb681a58ecc476759952a50a8a7c167279151df38e58f2598760f2d2e5f4f286} (vs. 30{eb681a58ecc476759952a50a8a7c167279151df38e58f2598760f2d2e5f4f286} in old PSU) = less heat inside the synthesizer
- weight 270 g vs. 1020 g
- new and quality electronic parts
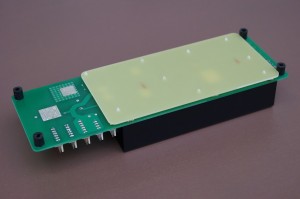
- top metal protection plate and bottom insulator plate that covers all components under high voltage
- compact construction
- easy to install
For sale
- complete PSU module incl. insulator board and protection metal cover
- Price: 160€ net
- let us know if you need a PSU for JU-6 or JU-60 (JU-60 need additional +10V linear regulator)
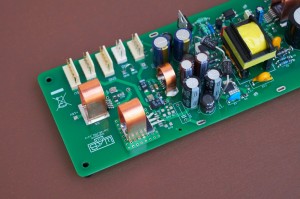
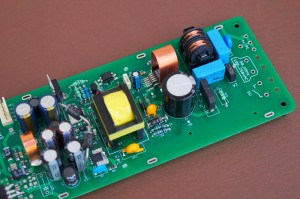
Complete PSU module with insulator board and protection metal cover
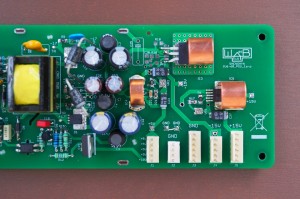
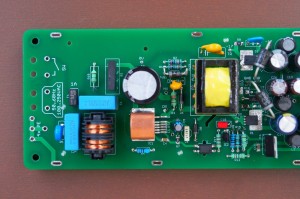
PSU module – look inside
Installation instructions
PLEASE NOTE! We sell a fully working and tested PSU with few additional parts to mount the PSU into the Juno 6/60. The following installation is an example. We are not responsible for health injuries and material damages that can cause bad installation of this PSU. Only a qualified tech should make this PSU swap. You are doing the PSU swap on your own risk.
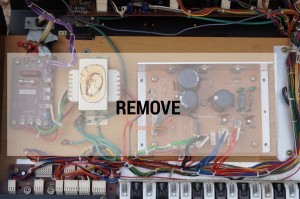
At first UNPLUG the mains cable and remove mains filter board, transformer and PSU board
Remove both screws that were holding transformer
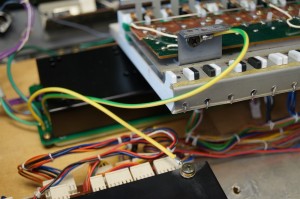
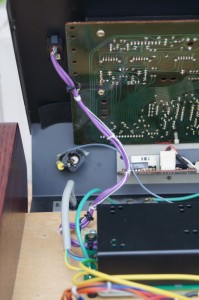
Connect earth cables to keyboard and Bender module. The connection should be STRONG
Solder mains cable wires, switch wires and earth wires as depicted
Fasten wires with cable ties
DOUBLE CHECK EVERYTHING!
Turn on the PSU and check the unit is working properly and all voltages are present (+15V, +5V, -15V, +10V (+10V is only for JU-60, ignore this for JU-6 as it is missing there))
If everything works fine, mount the bottom insulator plate on the PSU module
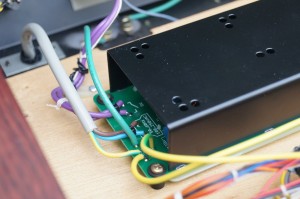
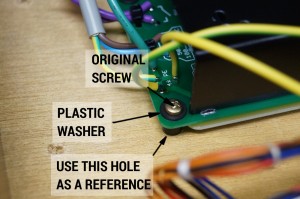
Use original 4 screws (that were holding the mains filter board) to mount the new PSU module
Also use washers to prevent the screw to come out from the bottom of wooden plate
Use one mounting hole (for mains filter PCB) as a reference mount point. Fasten the module on this place. Pre drill other 3 holes and mount other 3 screws
Plug all 5 connectors into the PSU module
READY!
